What you need before you start
You need an active Apple Developer account, a computer running macOS with Xcode installed, and your exported project from the studio.
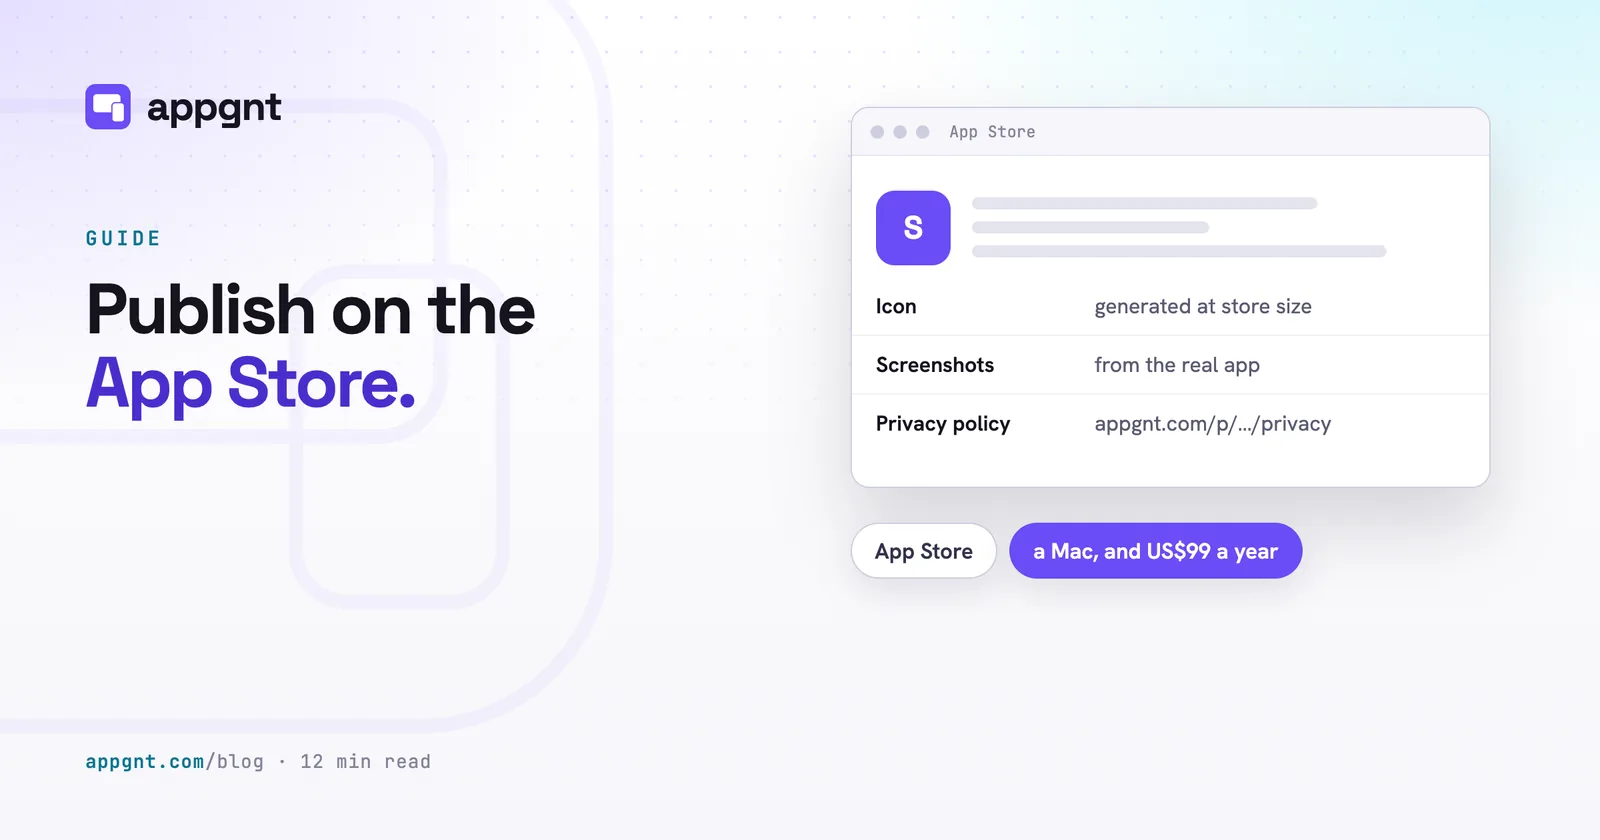
The Apple Developer Program costs US$99 per year. If you register as an individual, Apple usually approves the account within a day. If you register as an organisation, Apple requires a D-U-N-S number to verify that your business is a legal entity. Getting that number and waiting for Apple to verify it can take several working days, so request it before you plan to launch.
You also need access to a Mac. Apple does not allow developers to compile and sign production iOS apps on Windows, Linux, or generic cloud servers. If nobody on your team owns a Mac, you have three practical paths: borrow one for an afternoon, rent a cloud-hosted Mac for a few hours, or hire a freelancer for a one-hour handoff job.
Why building an iOS app requires a Mac
Apple requires Xcode and an official macOS signing certificate to produce a final distribution build for the App Store.
In the studio, we compile Android packages (APKs and AABs) directly on our cloud infrastructure because Google's build tools run on standard Linux servers. Apple's toolchain does not. When you request an iOS build in the Publish pane, the studio provides a clean project zip containing the native iOS wrapper, your web assets, and a detailed BUILD.md file.
The project is already configured. You do not need to write Swift or Objective-C code. You only need Xcode to read the project, verify your developer credentials, compile the assets, and send the finished binary to App Store Connect.
How to export the project from appgnt
You export the iOS package directly from the Publish pane inside the studio.
Open your app in the studio and select the Publish pane on the right side of the screen. Under the exports list, select iOS. The studio packages your React application, the Capacitor native bridge, the required configuration files, and the icons into an archive.
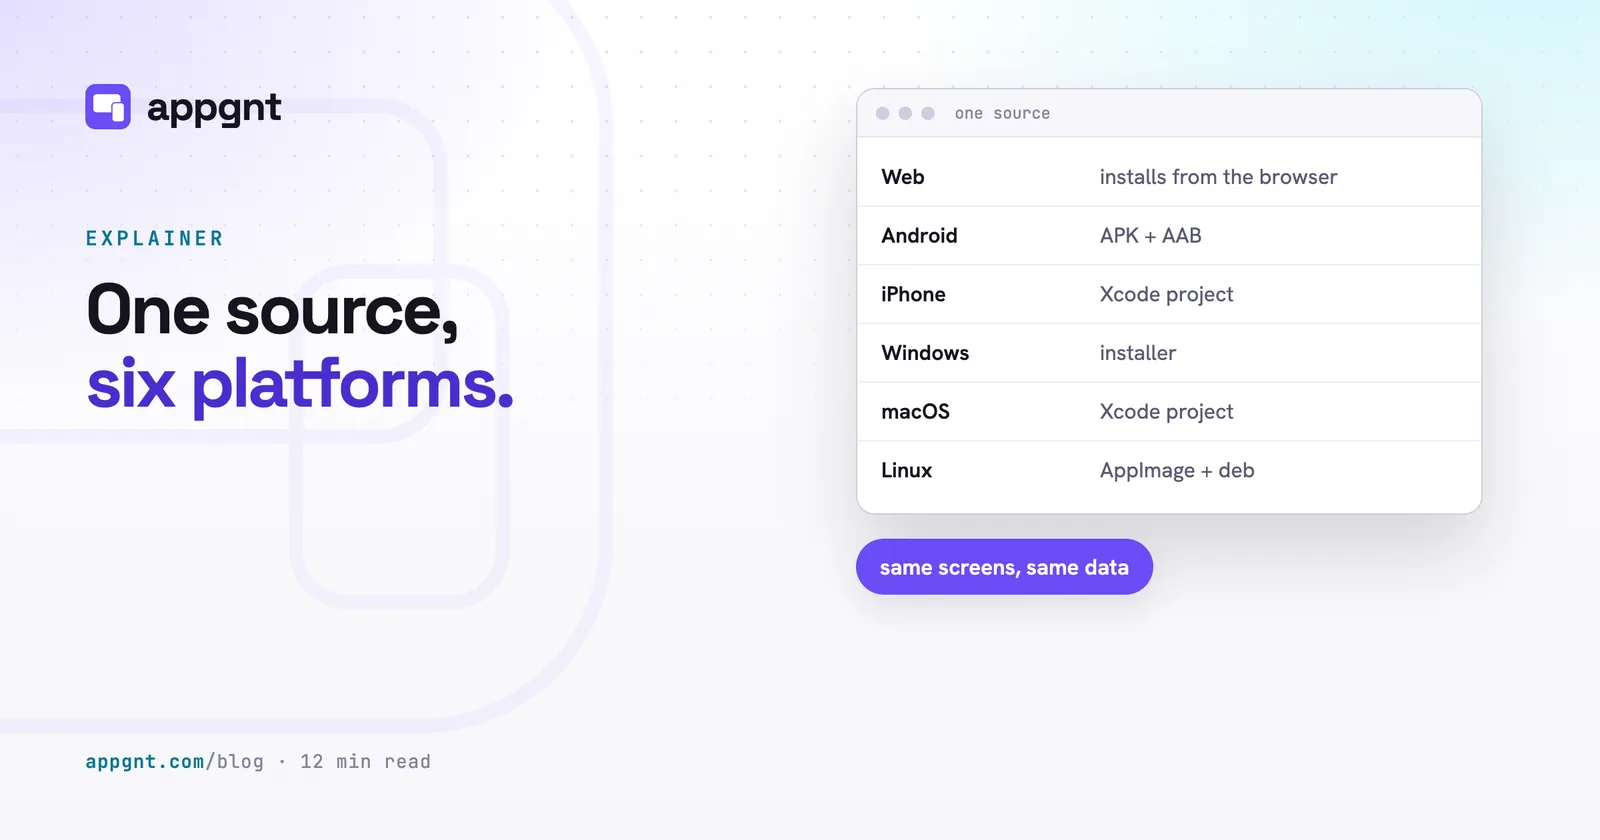
Download the zip file and transfer it to the Mac you plan to use. When you unpack the zip, you will find the iOS workspace along with BUILD.md. That file lists the exact build steps and bundle identifiers configured for your app. If you plan to release on other platforms at the same time, you can read our guide on building one app for mobile, desktop, and web.
Compiling and uploading your app in Xcode
You build the final binary by opening the project workspace in Xcode and running the Archive command.
- Double-click the
.xcworkspacefile inside the unzipped folder to launch Xcode. - Open Xcode settings, go to the Accounts tab, and sign in with your Apple Developer ID.
- Select the root project in the left sidebar, click the Signing & Capabilities tab, and pick your developer team from the dropdown menu.
- Set the build destination at the top of the window to "Any iOS Device (arm64)".
- Open the Product menu and click Archive.
- When the build finishes, the Organizer window appears automatically. Click Distribute App, select Custom, choose App Store Connect, and follow the default prompts to upload your build.
The upload typically takes three to five minutes depending on your internet connection. Once finished, Apple processes the build on their servers, which takes roughly fifteen minutes before it appears in your App Store Connect dashboard.
Preparing your store listing assets
App Store Connect requires a square marketing icon, screenshots for modern device sizes, and an active privacy policy link.
The Marketing kit in the studio generates these assets automatically so you do not have to compose them in design software. You can download the kit from the Publish pane.
| Asset | Requirement | Provided by appgnt |
|---|---|---|
| App Icon | 1024x1024 PNG with no transparency | Yes, exported from your palette |
| iPhone Screenshots | 1320x2868 pixels (6.9" display) | Yes, captured in a headless browser |
| iPad Screenshots | 2064x2752 pixels (13" display) | Yes, if iPad support is enabled |
| Privacy Policy | Valid public URL | Yes, hosted on your app page |
| Support URL | Valid public contact page | Yes, form hosted on your app page |
Check the official Screenshot specifications, App Store Connect if you want to supply custom photography.
When you publish your app page at appgnt.com/p/<slug>, the studio automatically publishes a compliant privacy policy at /p/<slug>/privacy. This document explains that your app stores data locally on the user's device and uses no tracking cookies. You paste that URL directly into the App Store Connect listing form.
You will also need to complete the App Privacy questionnaire in App Store Connect. If your app only saves data to the user's phone (such as local shift notes, job checklists, or calculators), select the option stating that you do not collect data from the app.
Passing App Review on the first try
Apple requires all listed software to provide lasting utility beyond showing a mobile website.
Under section 4.2 of the App Review Guidelines, Apple rejects thin wrappers that merely load a remote URL. Your appgnt app avoids this trap because it bundles the interface directly inside the installation file. It runs instantly, saves state to local storage, and works even when the device loses network coverage on a remote job site.
To make sure your review goes smoothly:
- Ensure no buttons lead to empty screens or placeholder text.
- Provide a clear demo account in the review notes if your app requires a login.
- If your app requests permissions (such as the camera for scanning receipts or the photo library for job photos), verify that the purpose strings explain why the feature is needed.
- If your app is solely for internal staff and not meant for the public, consider using browser installation without a store instead of the public App Store.
Reviews generally take between 24 and 48 hours. If Apple requests clarification, reply calmly through the App Store Connect Resolution Centre with straightforward facts about how your staff or customers use the app.
Testing with your team in TestFlight
TestFlight allows you to distribute your app to staff phones within minutes of uploading your build.
Before you submit your build to public review, open the TestFlight tab in App Store Connect. You can add internal team members immediately by entering their Apple ID email addresses. They receive an invitation, install the free TestFlight app from the App Store, and can open your app straight away.
This step is valuable for catching real-world oversights. Have your drivers, field staff, or office team test the app on actual hardware while moving between Wi-Fi and mobile data. If you find an issue, you can resolve it before the general public or Apple reviewers see it.
Pushing updates to your live app
You push updates by exporting a fresh build, incrementing the build number, and uploading the new archive to App Store Connect.
When you adjust your app in the studio (whether modifying a form, updating prices, or fixing a calculation), download a fresh iOS project from the Publish pane. Open it in Xcode, increase the build number by one (for example, from 1.0.0 to 1.0.1), create a new Archive, and upload it.
In App Store Connect, create a new version, write a short description of what changed for your customers, select the newly uploaded build, and submit it for review. Updates usually pass review faster than initial submissions. If you also distribute to Android, review our guide on how to publish your app to Google Play to keep your version numbers aligned.
What appgnt handles and what stays yours
We build the working source code, structure the native containers, and assemble your marketing assets, but you retain complete ownership of your Apple account and store presence.
We do not act as an intermediary in the App Store, we do not take a percentage of your business transactions, and we never hold your signing keys. The relationship with Apple is directly between your business and Apple. If you ever decide to stop using appgnt, the code remains yours, and any developer who understands standard React and iOS toolchains can maintain the project.
Frequently asked questions
Can I publish an app to the Apple App Store without a Mac?
No. Apple requires Xcode on macOS to sign and upload your final app bundle to App Store Connect. If your business does not own a Mac, you can borrow one for an afternoon, use a paid cloud Mac service, or hire an independent developer for an hour to complete the upload step for you.
How much does it cost to put an app on the App Store?
Apple charges US$99 per year for membership in the Apple Developer Program. There is no fee per app upload, so you can publish multiple apps under the same annual account. If you enrol as a business, you will also need a free D-U-N-S number to confirm your organisation's identity.
Will Apple reject my app for being built with appgnt?
No. Apple rejects apps that are nothing more than bookmarks to a website, but an appgnt app packages its user interface locally and works offline. As long as your app provides clear business utility, avoids placeholder content, and handles permissions properly, it meets Apple's technical and design standards.
How long does the App Store review process take?
Most submissions are reviewed within 24 to 48 hours. If Apple's review team has questions about your business model or requires login credentials to test your features, they will message you through the Resolution Centre in App Store Connect, which can add a day or two to the schedule.
How do my staff test the app before it goes live?
You can use Apple's TestFlight service, which is built directly into App Store Connect. Once your Xcode archive uploads successfully, you can invite your employees by email to install the test build via the TestFlight app without waiting for public store approval.